IllusoryThrall's Sims 4 Hub
- Challenges, Tips & Stories
Go back to the Main Page | Go Back to Getting Started
Switch One | Switch Two | Switch Three | Switch Four | Switch Five | Switch Six
You now have an heir and you’re ready to move on to Switch Three. Split the household, move your heir into 1312 21 Chic Street, and reduce funds to 0 just like we did in the last Switch. (again, “testingcheats on”, “money 0”, then “testingcheats off”) If you don’t remember how to do this, check the Switch Two post for a tutorial.
Okay, now you’re ready to play and again have three goals:
One: (once again) get your apartment value up to within the target funds amount and move to the next apartment until you get to the last apartment.
Two: (also again) Have your heir ready to start the next Switch. (This was explained in Switch One, refer back there if you’ve forgotten.)
Three: Get to max level on one of your sims (other than the heir) in either branch of the Critic Career (Arts or Food). I leave which sim and which branch up to you. For an additional challenge, you’re welcome to attempt to get two sims to max level, one on each branch.
The notes from the the first switch still apply to this one. If you’ve forgotten, refer back to Switch One.
District: Fashion District
Lot Trait: Lively Neighbors
Rent per week: 400
Deposit: 600
Target Value: 8,000 - 10,000
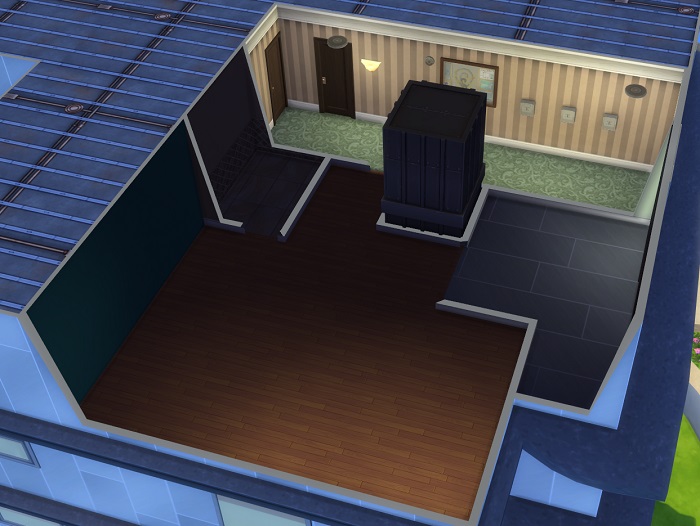
Designed for 1 bedroom, 1 bath, this apartment is far better than the last two starting apartments. At least there’s no rats and roaches. Again, target value is pretty low to keep this in the “starter” category when you move out, so expect to be using pretty crappy furniture.
District: Spice Market
Lot Traits: Good Schools, On Ley Line
Rent per week: 1,000
Deposit: 1,500
Minimum Move in Amount: 8,000 - 1,000 - 1,500 = you'll
have about 6,500 to spend on furnishings
Target Value: 16,000 - 18,000
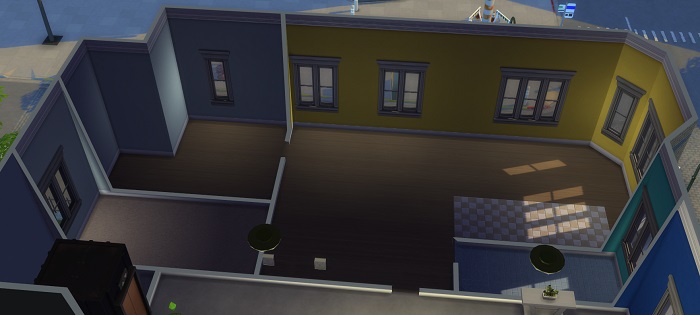
Designed for 2 bedroom, 1 bath, this apartment is the place for raising kids. Of course, you may find you move past this apartment pretty fast, before you even get to the “kid” stage yet. It does pose a little bit of an interesting puzzle when furnishing, however, due to it being a long and skinny apartment.
District: Spice Market
Lot Trait: Chef's Kitchen
Rent per week: 1,200
Deposit: 4,800
Minimum Move in Amount: 16,000 - 1,200 - 4,800 = about 10,000
to spend on furnishings
Target Value: 40,000 - 45,000
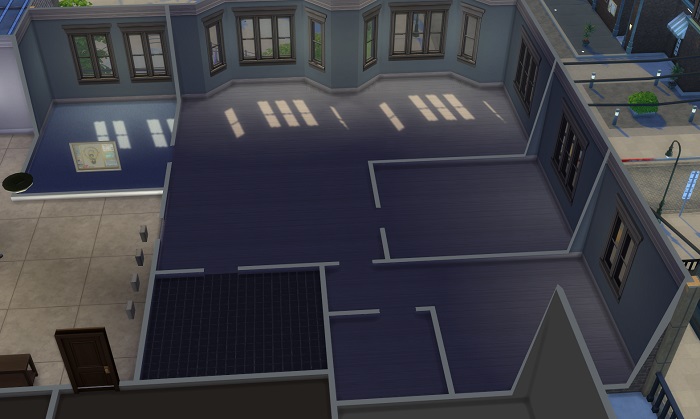
This apartment is EA-designed for 2 bedroom, 2 bath, but you may find the wall arrangement a bit weird. I sure did. Feel free to move walls when you get into this place, and for those on extreme, you’ll find there are a lot of ways you can partition the space out. If you planned ahead and had your kid(s) in the last apartment, there’s plenty of room for a second, and even a third bedroom in this apartment. Also, you’ll be spending more time in this third apartment than in the previous switches, because the next apartment is fairly costly and will require some saving before moving.
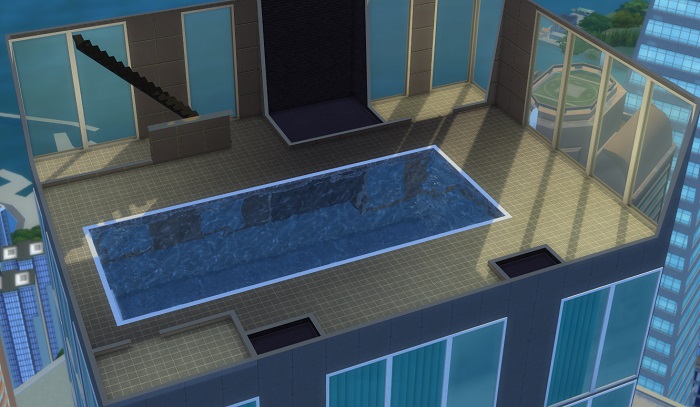
District: Uptown
Lot Traits: Great View
Rent per week: 7,500
Deposit: 37,500
Minimum Move in Amount: 40,000 - 7,500 - 37,500 = You'll
be short 5000 simoleons. However, remember the formula isn't
exact, you should probably have just about 0 if you move right
when you hit value on three, in other words, you're going to
want to save some up before moving.
Target Value: 70,000
Yup.. it’s got a pool. Designed for 2 bedroom, 3 bath. If you’re playing on extreme, you’re going to be creating floors as well as walls, and there’s no pool, but the place costs just as much. This will be a challenge, and you should save up for a while before moving in here, or you’ll be living on one floor like it’s a lawn. On normal, you’ve got a lot of decorating to do, and you may very well want to move walls around to make it work. Either way, getting this to value will be a challenge, but if you’ve set up your ability to make money enough to get here through the last three, you should be good.

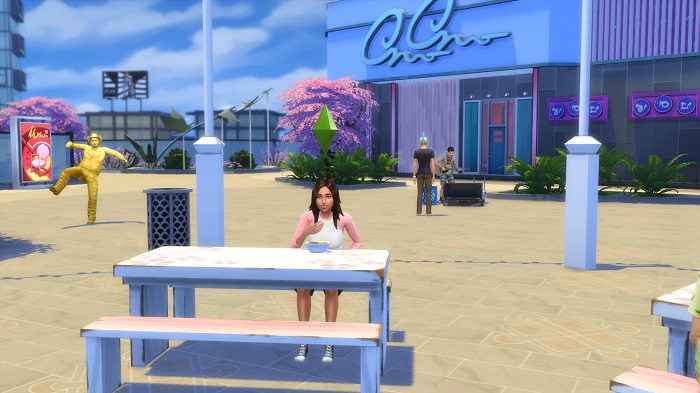
Just like last time, if you’re doing the challenge on Extreme difficulty, as soon as you hit 70k value with your apartment, you’re free to go build your very own City Park. This also opens this lot for traveling to (so long as you have 1k or more in the bank). You’ll be building your park on this lot in San Myshuno:
This area has four frog spawners, fishing areas, and a little food court, so it will be nice to have it open finally. (I would have opened it up for you guys sooner, but the other two lots you’ve built were required by the next challenge.) I would suggest putting in at the very least a wedding arch and reception area for parties (if you’re the type to throw parties for your sims, that is.) Again, have fun with it!
You did it! Now that you have your Young Adult heir and you completed the above apartments, you are now ready to move to the next Switch. If you’ve forgotten how, refer to the top of the Switch Two page.
Go back to the Main Page | Go Back to Getting Started
Switch One | Switch Two | Switch Three | Switch Four | Switch Five | Switch Six
![]()
 November 2025 Dev DiarySuperSweetBot Commands for Mods & BroadcastersOctober 2025 Dev DiaryProgress Report!Hacking Situation ResolvedHey all…Not So Berry Updating
 Jaynie’s Gems: By-The-NumberToday